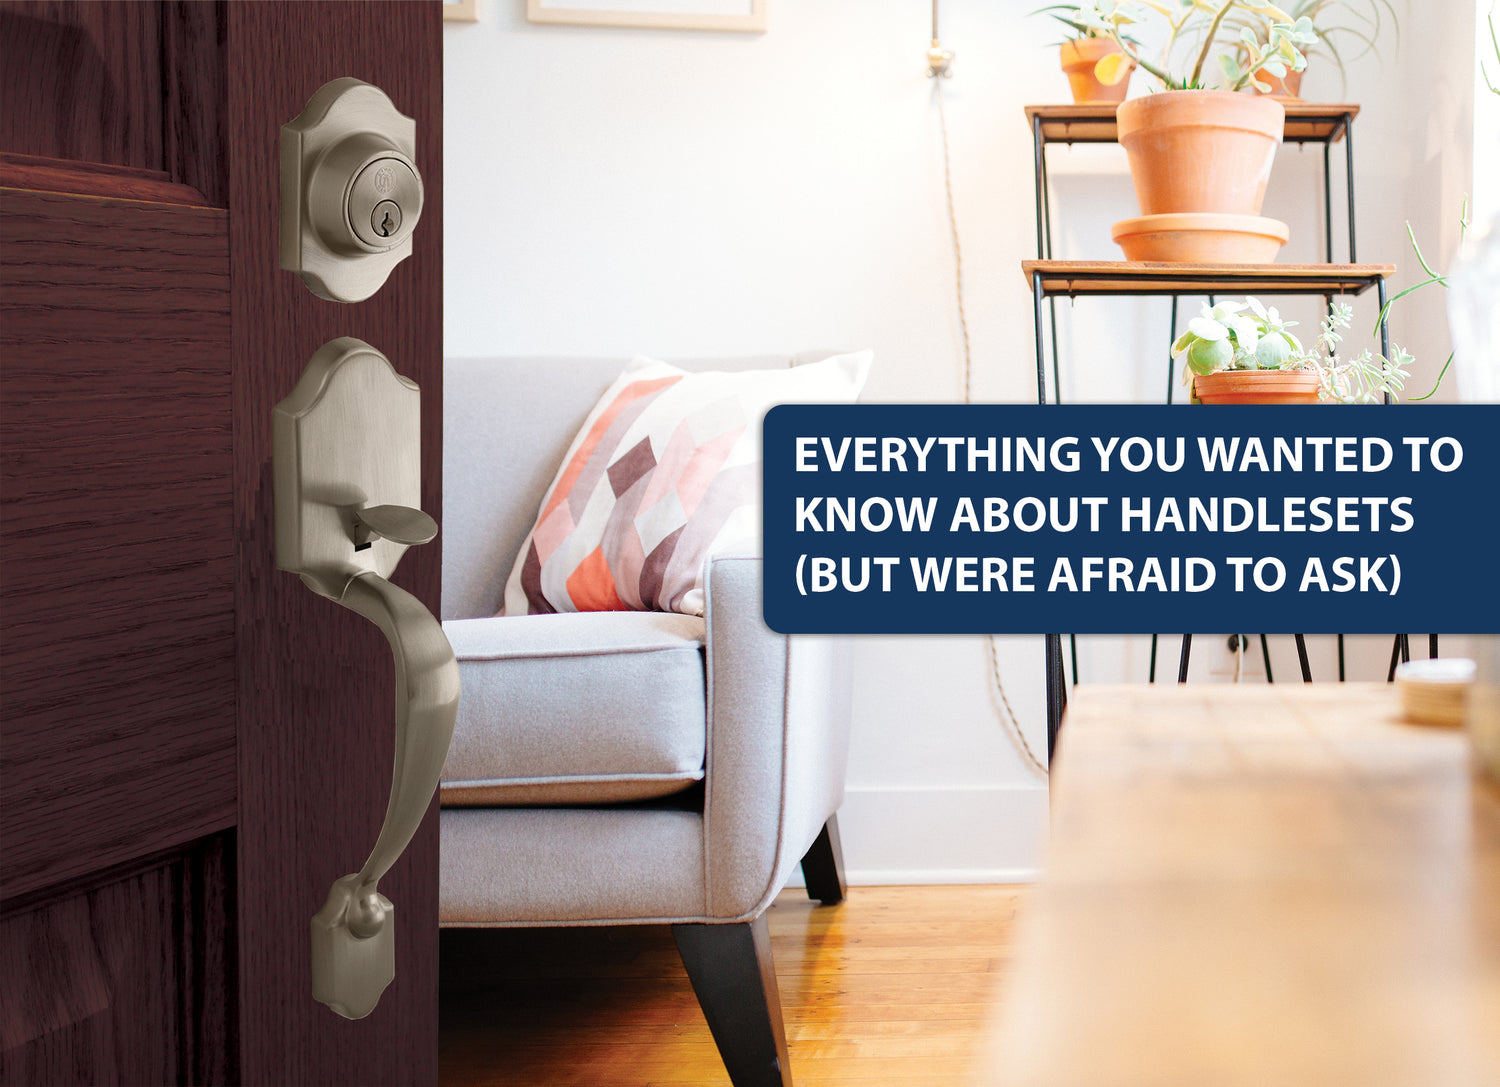
Handlesets can be a great way to dress up your home’s front door. However, choosing the right handleset and interior piece can be intimidating, especially if you’ve never done it before! Don’t worry – we’ve got you covered. Here are the answers to some common questions about handlesets.
1. Why should I use a handleset instead of a regular deadbolt with a knob or lever?
Handlesets are a great way to make a statement and add some style to your front door. From a security standpoint, they offer the same security for your home as a deadbolt with a passage knob or lever.
2. Why are the inside and outside parts of the handlesets sold separately?
Handleset components are packaged separately so you can customize the look for your home. It’s common to install a handleset in one finish (such as matte black) on the exterior side of the door and choose an interior knob or lever in a different finish (like satin nickel) for the inside. This way, you can easily create the look you want.
3. What comes with the interior trim pack?
The interior trim packs for the Stone Harbor handlesets come with everything you need for the inside of the door, including the turn piece for the deadbolt, the knob or lever, latches, strikes, the mounting screws, and the cap to cover the bottom screw. We also include instructions so it’s DIY-friendly!
4. How much space do I need between the handleset deadbolt and the bottom grip?
The recommended spacing between the top and bottom 2-1/8” bore holes is 5 ½” from center-to-center. However, it’s always a good idea to check the template that comes with your handleset to make sure your door is prepped correctly.
5. What tools do I need to install a handleset on my door?
Stone Harbor handlesets can be easily installed with a few basic tools. If your door is pre-drilled with the 2-1/8” bore holes, you’ll need a Phillips screwdriver, a tape measure, a pencil, and a drill with an 11/32” bit. If your door doesn’t have the 2-1/8” bore holes, you’ll also need a 2-1/8” hole saw. If your door doesn’t have the holes bored for the latches, you’ll also need a 1” spade bit and a chisel to prepare the holes for the latches. (Or, you can purchase a latch and strike template kit from many hardware stores to make the job easier!)


Leave a comment
All comments are moderated before being published.
This site is protected by hCaptcha and the hCaptcha Privacy Policy and Terms of Service apply.